

Protecting finished surfaces during a home renovation
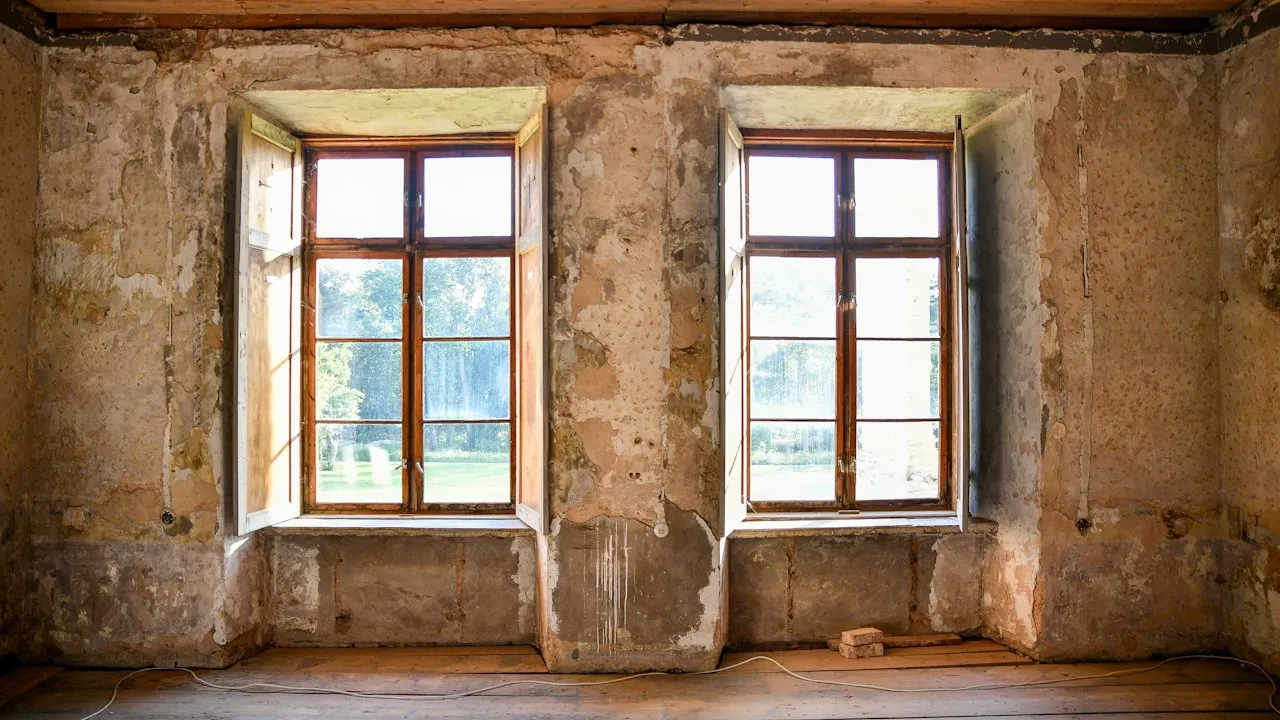
Renovation damage often happens after the most expensive work has already been completed. A newly laid timber floor can be scratched by a ladder, fresh paint can be marked by a delivery, and window glass can be damaged during plastering or external work. Surface protection reduces these risks, but it works best when it supports a well-planned sequence of work rather than attempting to compensate for poor coordination.
Which surfaces need protection first on a home renovation site?
Protection should follow the project programme. Before installing decorative finishes, you should resolve leaks, structural alterations, electrical chases, plumbing routes, ventilation penetrations and major demolition. Installing a finished floor before overhead services are complete often creates avoidable exposure to dust, impact and moisture.
Prioritise surfaces according to their replacement cost, fragility and proximity to ongoing work. Glazing, stone worktops, timber joinery and finished flooring usually deserve early attention because repairs may be visible even after professional treatment.
Construction planning also helps homeowners understand why sequencing, site access and trade coordination affect the final result. For wider guidance on construction priorities, project management and avoiding corrective work, you can discover this resource. A renovation site benefits from clear routes for workers, material deliveries and waste removal, so completed areas are not used as storage or shortcuts.
Floors need layered protection rather than a single cover
Floors are exposed to grit, dropped tools, wheeled equipment and liquid spills. The right protection depends on the material:
-
Hardwood, laminate and engineered timber floors: Use a breathable temporary floor covering, with a non-staining layer underneath where required by the flooring manufacturer. Avoid taping directly onto finished timber or leaving impermeable plastic sheeting in place where moisture could become trapped. Place rigid boards only where heavy loads or equipment will pass.
-
Tile, stone and polished concrete: Cover surfaces with a cushioning layer before adding impact-resistant boards along traffic routes. Sand and plaster dust can act like abrasive material under foot, so clean beneath the cover before installation. Check that joints, sealants and recently applied treatments have fully cured.
-
Carpet and resilient flooring: Use purpose-made protective film only after confirming that the adhesive is suitable for the pile, backing or finish. Adhesive films can transfer residue if left beyond their stated removal period, particularly in warm rooms or direct sunlight.
-
Stairs and thresholds: Protect these high-traffic areas separately. Secure coverings at the edges without creating a trip hazard, and inspect them frequently because loose boards and curled film create risks for workers and occupants.
Choosing films, tapes and temporary covers without damaging finished materials
The protection material must suit both the surface and the work taking place nearby. A film designed for glass may not be appropriate for painted walls, while a heavy-duty board can damage delicate flooring if dirt becomes trapped beneath it.
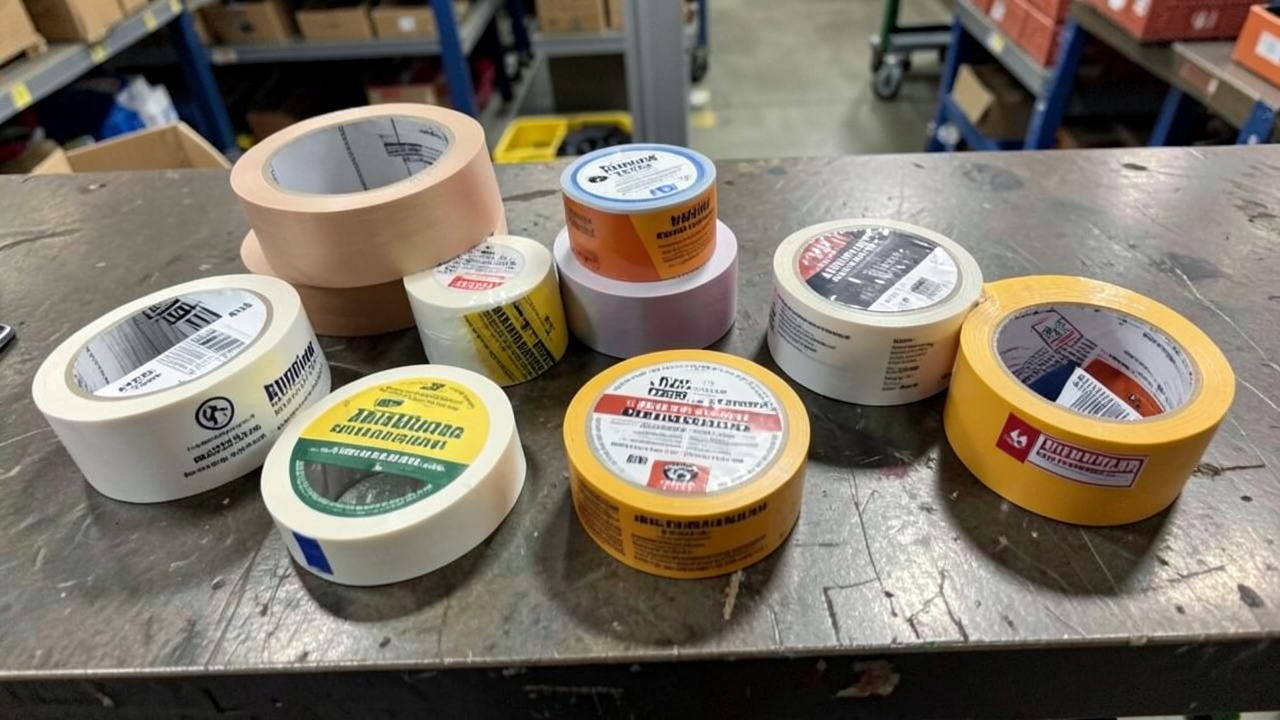
Low-tack masking tape is useful for securing paper, lightweight film and temporary edge protection. Even so, test it first in an inconspicuous area. Paint that has not cured, porous stone, lacquered joinery and wallpaper can all react badly to tape adhesive. Apply tape to the protective material where possible, rather than directly to the finished surface.
For windows, use a renovation-grade protective film that is compatible with glass and frame finishes. Cover glazing before dusty work, spraying or rendering begins, but do not block drainage channels, trickle vents or opening mechanisms. Frames should be shielded with care, especially where aluminium, uPVC, painted timber or factory-applied coatings may be sensitive to adhesives.
Freshly painted walls need a different approach. Rather than covering whole walls with taped plastic, keep work zones separated, establish protected circulation routes and use lightweight dust barriers where needed. If a wall must be covered, wait for the paint system’s recommended curing time and choose a breathable, low-adhesion material.
Worktops, sanitaryware and fitted cabinetry benefit from padded temporary covers. Corrugated board, foam sheets and clean reusable blankets can protect against impact. Keep abrasive materials, screws and tools away from these coverings, since pressure can transfer marks through thin layers.
Good site habits prevent damage before coverings are needed
Protective materials are only one part of construction site protection. Daily routines prevent many costly incidents:
- Define access routes before trades arrive, including where materials can be carried, stored and unpacked.
- Keep completed rooms locked or clearly marked when they are not required for current work.
- Clean dust and grit regularly, especially near protected floors and window openings.
- Ask each trade to inspect its work area before leaving, including covers, tape edges and temporary barriers.
- Record the condition of finished surfaces with dated photographs before further work begins.
When should protective materials be removed to avoid rework?
Temporary protection should not remain in place indefinitely. Films and tapes have recommended removal periods, and exceeding them can lead to adhesive marks, yellowing, trapped moisture or difficult cleaning. Heat from sunlight, underfloor heating and newly heated rooms can accelerate adhesive transfer.
Remove coverings once the relevant risk has passed, not simply when the entire renovation ends. For example, window film can come off after external spraying and plaster work are complete, while floor protection may remain until final fitting and cleaning. Lift coverings carefully, pull tape back on itself at a low angle, and avoid sudden force near fresh paint or sealant.
Protect finished surfaces and protect the renovation budget
A disciplined protection plan preserves the appearance of your completed work and limits disruption at handover. Sequence the renovation properly, select compatible films and tapes, and inspect temporary coverings throughout the project. By treating floors, glazing, joinery and painted walls as assets rather than worksite storage, you reduce the likelihood of expensive repairs when the renovation is nearly finished.