

How to remove protective film without residue

Protective film is designed to shield surfaces during storage, transport, fabrication, or installation. When it is removed at the right time and with the right method, the underlying material should remain clean and undamaged. Problems arise when film has been exposed to heat, sunlight, moisture, or long storage periods. With a measured approach, you can remove film from metal, glass, plastics, laminates, and equipment housings while avoiding adhesive residue.
Prepare the surface and your tools before starting
Start by checking the surface type, the age of the film, and the surrounding conditions. Fresh protective film is generally easier to remove than material that has remained in place for months or years. If the item has been stored outdoors, adhesive may have bonded more strongly because of UV exposure and temperature changes.
Choose a discreet corner for a small test first. This is particularly useful for painted panels, acrylic sheets, polished metals, and coated surfaces that may react to solvents.
Gather the following supplies before you begin:
- A plastic scraper or plastic razor blade
- Microfibre cloths
- A hair dryer or low-temperature heat gun
- Warm water and mild detergent
- Isopropyl alcohol or a manufacturer-approved adhesive remover
- Nitrile gloves
- A spray bottle
Avoid metal blades, abrasive pads, and aggressive scouring powders. These tools can leave scratches that are more difficult to remedy than a small amount of adhesive residue.
For businesses handling valuable stock, machinery, or finished installations, film selection also affects later removal. The guidance in When should businesses use protection film for surfaces and equipment? can help you match film specifications to the expected storage and working conditions.
Use gentle heat to loosen the adhesive
Heat is often the most effective way to remove aged protective film without leaving glue behind. Warm air softens the adhesive and makes the film more flexible, reducing the chance that it will tear into small strips.
Set a hair dryer to a medium setting, or use a heat gun only at its lowest safe setting. Hold it approximately 15 to 20 centimetres from the surface and move continuously. Concentrate on a small area rather than heating the entire panel at once.
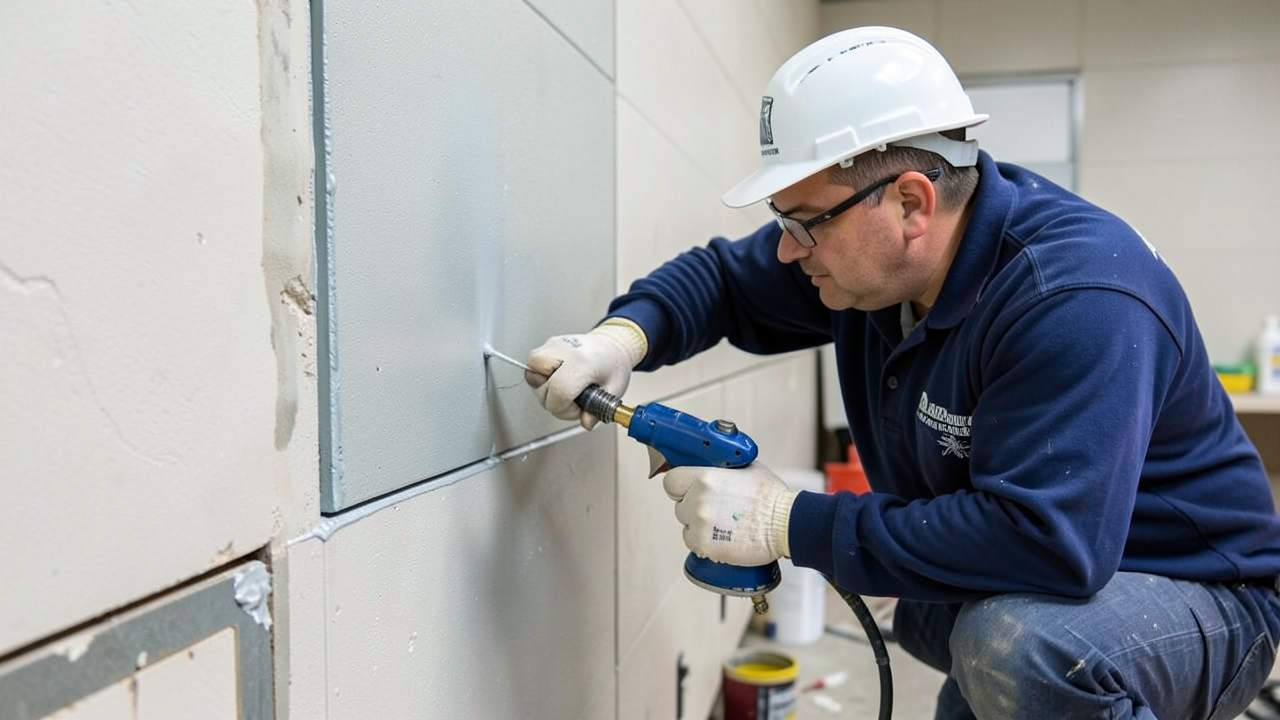
Once the edge feels warm, lift a corner with a fingernail or plastic scraper. Pull the film back slowly at a low angle, keeping it close to the surface rather than pulling straight upward. This technique places less stress on both the adhesive and the finish beneath it.
If the film resists, pause and apply more heat. Do not force it. Excessive pulling can cause the film to split, while too much heat can distort plastic, damage paint, or affect delicate coatings. On acrylic, vinyl, and thin plastic sheets, a hair dryer is usually safer than a heat gun.
Remove residue with a surface-safe cleaner
Even careful removal can leave a light adhesive film, especially around edges and areas exposed to direct sun. Begin with the mildest cleaning method available.
Mix warm water with a small amount of mild detergent, then apply it with a soft cloth. Let the damp cloth sit on the residue for several minutes before wiping gently. This may be enough for water-based adhesives or recently applied film.
For more persistent marks, use isopropyl alcohol on a clean microfibre cloth. Apply the alcohol to the cloth rather than pouring it directly onto the surface. Rub in small circular motions, checking the cloth frequently so that softened adhesive is not spread across the panel.
Commercial adhesive removers can work well, but you should verify that they are compatible with the material. Solvent-based products may cloud acrylic, soften some plastics, affect printed graphics, or dull painted coatings. Always test first in an inconspicuous location.
After residue has been removed, wipe the area with clean water and dry it thoroughly. This prevents cleaner marks and allows you to inspect the finish under good light.
Adapt your approach to the material beneath the film
Different substrates require different levels of care. Glass and uncoated stainless steel are generally durable, although even these surfaces can be scratched by unsuitable tools. A plastic scraper and alcohol-based cleaner are usually appropriate choices.
Painted metal requires more caution. Avoid strong solvents unless the paint manufacturer confirms compatibility. Use gentle heat, a plastic scraper, and mild detergent before trying stronger products.
Acrylic and polycarbonate surfaces are especially sensitive. Keep temperatures low, do not use acetone, and avoid ammonia-based cleaners. A mild soap solution followed by a cleaner approved for clear plastics is the safer route.
For aluminium composite panels, laminates, and coated display materials, inspect the supplier’s care instructions. Many finishes have a protective topcoat that can be damaged by abrasive cleaning or solvent exposure.
If you are also assembling or fitting protected components, reliable fixing hardware helps limit movement and edge lifting during handling. You can compare suitable options in How to choose the right contractor grade fasteners.
Prevent residue during storage and installation
The easiest residue to remove is residue that never develops. Check the film manufacturer’s recommended removal window before storing stock or installing finished items. Many protective films are intended for temporary use and should not remain in place beyond a stated period.
Store film-covered materials away from direct sunlight, heaters, and high-humidity areas. Heat accelerates adhesive bonding, while damp conditions can allow dirt to collect along edges. Keep panels flat or properly supported to prevent pressure marks and wrinkling.
When scheduling installation, plan film removal near the end of the process. Remove it only after cutting, drilling, transport, and other work that could damage the finished face. At the same time, avoid leaving it in place after the project is complete simply because it appears harmless.
A clean removal process protects the finished surface
A careful process reduces waste, avoids rework, and preserves the professional appearance of business equipment and materials. Keep these practical points in mind:
- Test heat and cleaning products on a hidden area first.
- Warm the film gradually and pull it back at a low angle.
- Use plastic tools rather than metal blades.
- Start with mild soap and water before using alcohol or adhesive remover.
- Match cleaners to the surface material and coating.
- Remove temporary films within the supplier’s recommended timeframe.
- Store protected stock away from prolonged heat and sunlight.
By combining controlled heat, patient peeling, and compatible cleaning products, you can remove protective film cleanly while preserving the surface underneath.